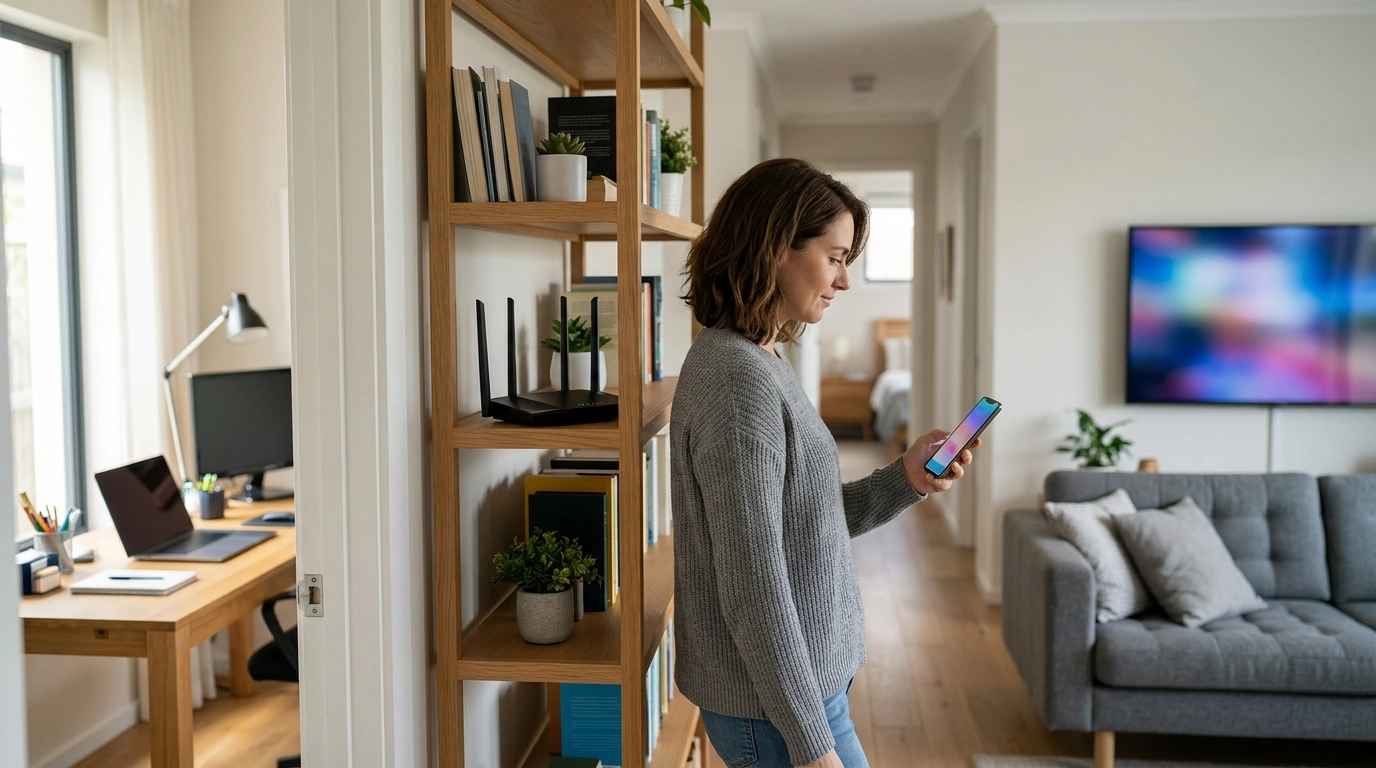
A stronger home Wi‑Fi connection usually comes down to placement, not guesswork. A few smart adjustments can reduce dead zones, improve speed consistency, and keep video calls and streaming stable in the rooms that matter most. Use the steps below to find the “signal sweet spot” in your home—and keep it strong once you’ve found it.
Before moving anything, decide what “better Wi‑Fi” actually means for your household. Coverage everywhere sounds nice, but most homes have a few priority zones where performance matters more than raw speed.
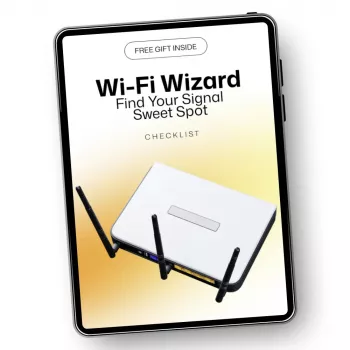
If you want a quick, printable way to track tests and improvements, Wi-Fi Wizard: Find Your Signal Sweet Spot | Easy Home Internet Checklist for wifi router placement best spots keeps the process simple and repeatable.
Routers don’t “fill” a home evenly. Signals weaken as they pass through dense materials, and they can get noisy when competing with household electronics. A fast scan of your layout helps you choose smarter starting points.
For background on Wi‑Fi’s use of unlicensed spectrum and common device considerations, the Federal Communications Commission (FCC) overview is a helpful reference.
These guidelines won’t replace real-world testing, but they’re reliable enough to get you close on the first try—especially if you’re currently dealing with a router tucked behind a TV or stuck in a back corner.
Small changes here can have outsized impact. Moving a router from floor level to a bookshelf can reduce furniture blockage and create cleaner “line-of-sight” paths through doorways and hallways.
Good placement is theory plus verification. A fast walk-through with a phone (and a consistent test method) will usually beat hours of random trial and error.
| Room/Area | Do | Avoid |
|---|---|---|
| Living room / TV area | Place router nearby but not behind the TV; keep line-of-sight as open as possible | Inside the media console; directly beside soundbars, consoles, or streaming hubs |
| Home office | Favor this zone if video calls drop; elevate router to desk-shelf height | Under-desk placement; sharing a crowded power strip with chargers |
| Hallway / central landing | Use as a “hub” location to spread signal to multiple rooms | At floor level; next to mirrors or large metal decor |
| Kitchen-adjacent | Maintain distance from microwave and large appliances | On top of the fridge; near the microwave |
| Upstairs/downstairs split | Try mid-level placement (stair landing) for balanced coverage | Far end of the home on one floor only |
If you’re curious how newer generations improve efficiency (not just headline speeds), the Wi‑Fi Alliance Wi‑Fi 6/6E resources explain the basics in plain language.
To make the process easier to repeat (especially after moving furniture or switching internet providers), keep a dedicated checklist like Wi-Fi Wizard: Find Your Signal Sweet Spot | Easy Home Internet Checklist for wifi router placement best spots on hand. For a broader learning boost on everyday tech topics and tools, Teach Yourself AI Fast | Beginner-Friendly Ebook for How to Teach Yourself AI Basics Fast | AI Starter Guide, Prompting, Tools & Mini Projects is also available as a quick digital guide.
Place it as centrally as possible relative to your priority rooms, elevated, and out in the open. Avoid cabinets, corners, and crowded TV stands that block or reflect the signal.
Often yes. Elevation reduces signal blockage from furniture and improves the chances of a cleaner path through doorways and open spaces.
Hallways and central landings often spread signal more evenly to multiple rooms. If the living room is your priority zone, compare both spots with quick real-world tests and keep the one that stays most stable where you need it.






Leave a comment